Here's one example of the use of the Green Balance tool.
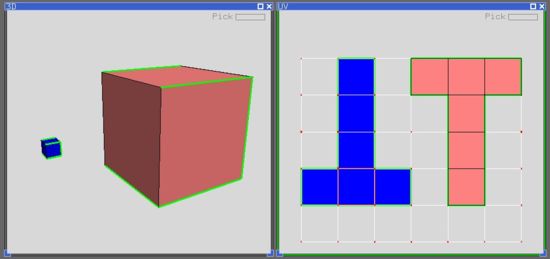
The top image shows a couple of cubes loaded into UVLayout with their
default UVs as assigned by the modeler. Regardless of the size
of the cube, they were both given the same amount of UV space, and so UVLayout is tinting the smaller cube
blue to indicate it has too much UV space (i.e. the applied texture will appear compressed), and the
larger cube is tinted red to show too little UV space (i.e. the applied texture will appear stretched).
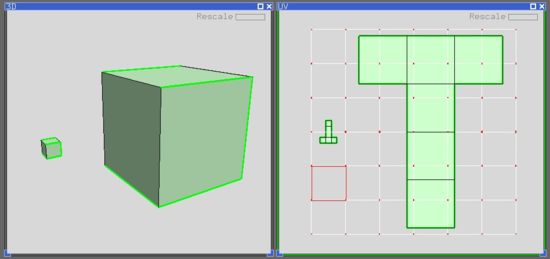
The shells sizes can be adjusted by clicking the Rescale & button (see above), which will
make the red shell larger, and the blue shell smaller, but what if we were already happy with
the size of one shell and just wanted to adjust the other?
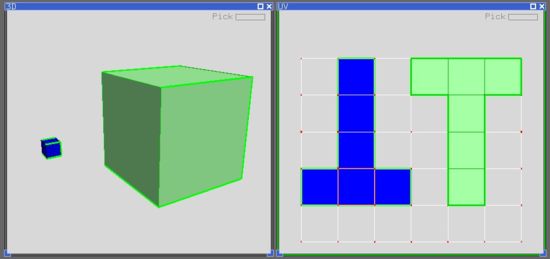
Select the shell you want to make green (i.e. perfect scale) and click the Green Balance button (see above).
Then unselect that shell and click the Rescale & button, and it will stay the same
size, but the smaller cube will shrink more to adjust to the correct scale.
|


